Plastic Mould Manufacturers in Australia: How to Choose the Right One (and When You Don't Need a Mould Yet)
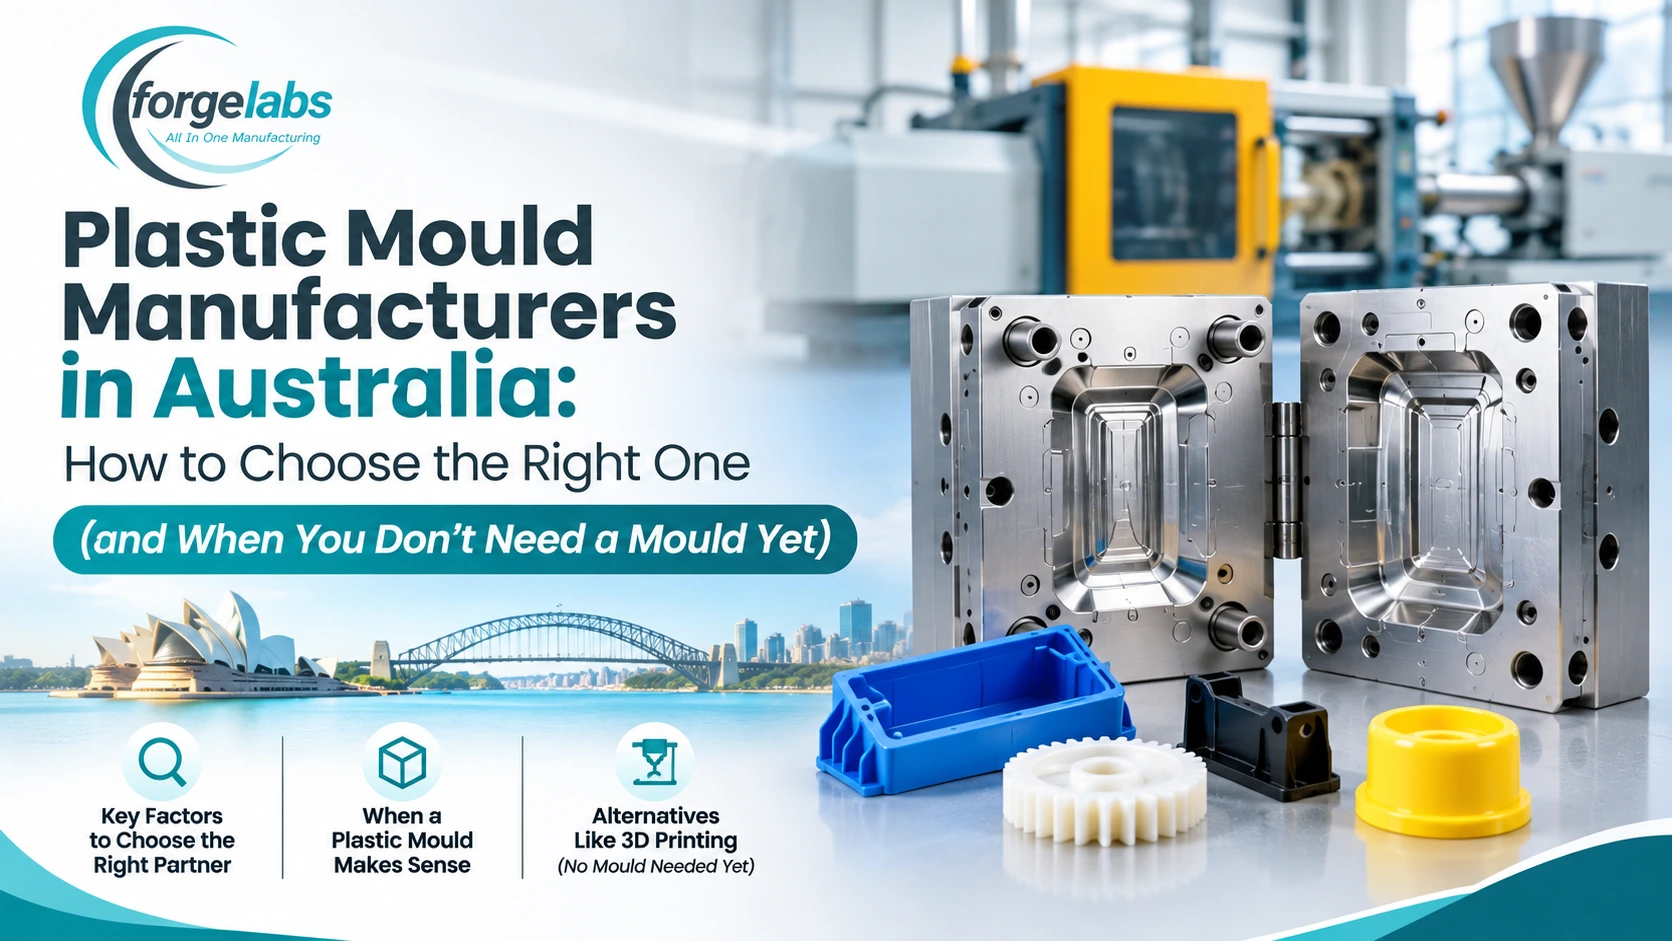
Learn how to compare plastic mould manufacturers, ask the right questions, estimate tooling costs and decide when 3D printing is a better fit.
Summary
This blog helps Australian buyers choose a plastic mould manufacturer and decide whether they need a mould at all. Most competing pages are lists of company names with invented ratings. This one gives readers a decision method instead. It covers ten questions to ask suppliers, red flags, what drives mould cost, a simple cost sum, a quantity guide, and when 3D printing can replace or support tooling. It links to your injection moulding, tool making, vacuum casting and cost guide pages, plus three verified external sources.
Key takeaways
A mould maker builds the tool and a moulder runs it. Ask which one you are dealing with, because outsourced tooling gives less control over time and changes.
- Ask ten questions before you pick a supplier. The most important ones are who builds the tool, who owns it, and what the written lead time is.
- Get tool ownership in writing before you pay.
- A very low quote often hides weak steel, thin design checks or extra charges later.
- Mould cost depends on part size, complexity, tool material, cavity count, finish and expected tool life.
- Use the simple formula: tooling cost plus (parts times cost per part). Many buyers pay for tooling too early because they never run this sum.
- By quantity: printing or machining wins for 1 to 10 parts. Printing or vacuum casting is strong for 10 to 100. Bridge tooling or MJF printing suits roughly 100 to 1,000. Steel tooling usually pays off from about 1,000 to 5,000 parts.
- 3D printing helps in three ways: testing the shape before tooling, running a bridge batch while the mould is built, and, in some cases, making printed mould inserts for very short runs.
- Printed moulds typically make hundreds of parts in easy plastics, but higher temperature plastics shorten their life.
- Offshore moulding suits large, stable designs. Local moulding often costs less overall for small or changing designs once delays and rework are counted.
The short answer
To choose a plastic mould manufacturer in Australia, check six things: whether they build the mould themselves, which machine sizes they run, which plastics they handle, who owns the finished tool, how they quote lead time, and whether they review your design before cutting metal. Before you pay for any tool, work out how many parts you really need. For small runs, 3D printing, vacuum casting or CNC machining often cost less than a mould.
Why this choice matters more than most people think
A plastic mould is one of the biggest upfront costs in product manufacturing. If you pick the wrong supplier, you can lose months and a lot of money. You may also end up with a tool you cannot move to anyone else.
Most pages that rank for this topic are lists of company names. They tell you who is there but not how to choose. This guide fixes that. It helps you compare suppliers avoid mistakes and test your product before you commit to tooling.
Mould maker or moulder? Know the difference first
People use these words as if they mean the same thing. They do not.
A mould maker builds the tool. That is the steel or aluminium block with the shape of your part cut inside it.
A moulder runs the tool in a machine and produces your parts. The machine melts plastic and injects it into the cavity.
Some companies do both under one roof. Others build tools and send them elsewhere, or only mould parts and buy tools in. Ask which one you are talking to. A company that outsources the tool has less control over the timeline and over changes later.
Ten questions to ask before you pick a supplier
- Do you build the mould yourselves, or does someone else?
- Which machine sizes do you run, and what is the largest part you can mould?
- Which plastics do you work with most, such as ABS, polypropylene, nylon or TPU?
- Will you review my design for manufacturing before you cut the tool?
- What will the mould be made from, steel or aluminium, and why?
- Who owns the mould once I pay for it, and where is it stored?
- What is your written lead time from approved design to first parts?
- How do you check quality, and what reports can I get?
- What happens if I need a design change after the tool is made?
- What is your minimum order quantity for repeat runs?
Good suppliers answer these without fuss. They may even add details you did not ask about. Vague answers are a signal to keep looking.
To build a shortlist, you can browse the Australian Manufacturing business directory for injection moulding. A directory only tells you who exists. It does not rate quality, so use the ten questions above to compare the companies you find.
Red flags that cost people money
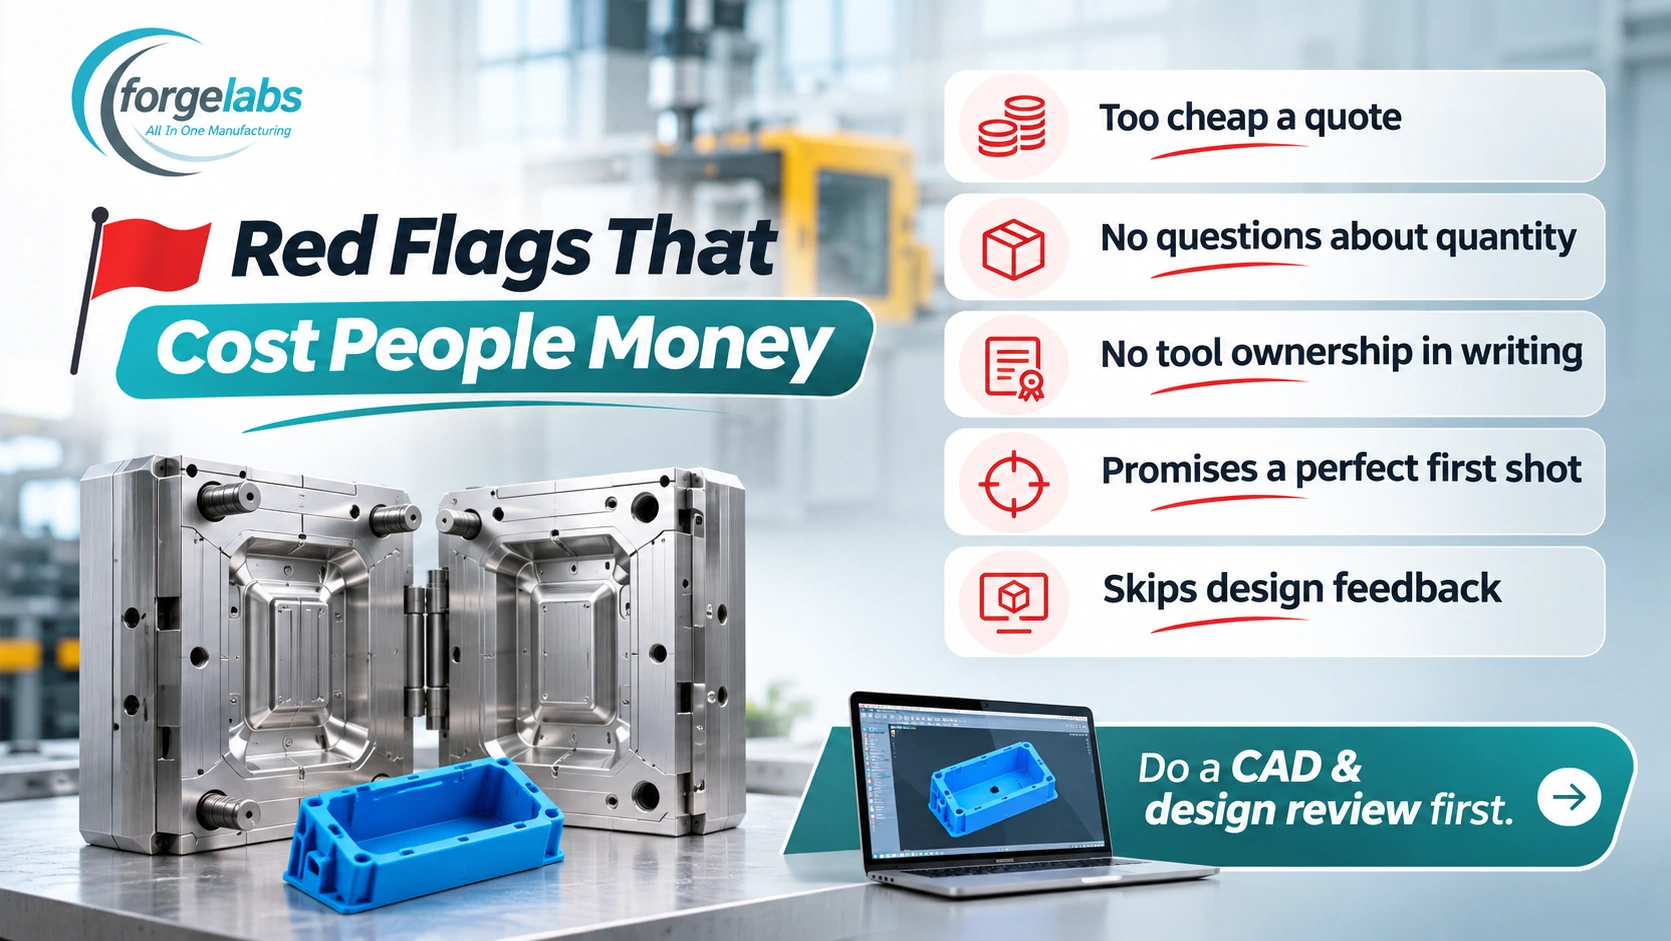
Watch for a quote that is far lower than every other quote. Cheap tooling often hides weak steel, thin design checks, or extra charges later.
Be careful when nobody asks about your quantities. A supplier who quotes before they know your volume is guessing.
Avoid any supplier who will not put tool ownership in writing. A mould is your asset, and you should be able to collect it.
Question anyone who promises a perfect first shot. Real tools usually need small adjustments after sampling. A good supplier plans for that.
Finally, be wary of a supplier who skips design feedback. Thin walls, sharp corners and undercuts are cheap to fix on screen and expensive to fix in metal. A CAD and design review before tooling often pays for itself.
What drives the cost of a plastic mould
Prices vary too much to quote one number honestly, so here is what moves the price. Ask every supplier to explain each item in their quote.
Part size and complexity matter most. Bigger and more detailed parts need more machining time.
Mould material comes next. Hardened steel lasts for very large runs and costs more. Aluminium is quicker and cheaper but wears sooner.
The number of cavities changes both the tool price and the price per part. More cavities cost more upfront and cut the cost of each part.
Surface finish, textures and moving sections such as slides and lifters add machining and fitting time.
The expected life of the tool also counts. A tool built for a few hundred parts costs far less than one built for hundreds of thousands.
A simple way to test whether a mould pays off
Here is the maths in plain terms.
Total cost equals tooling cost plus (number of parts times cost per part).
Here is an illustration, with round numbers, not a quote. A mould costs ten thousand dollars. Each moulded part costs two dollars. A printed part costs fifteen dollars each when no tooling is used. For a batch of one hundred parts the mould route costs ten thousand two hundred dollars. Printing costs one thousand five hundred dollars. For a batch of one thousand parts the mould route costs twelve thousand dollars. Printing costs fifteen thousand dollars. The crossover point lies somewhere between those two runs.
Your own numbers will differ, but the method holds. Find the quantity where the tool stops being a burden and starts saving you money. Many buyers never do this sum, and they pay for tooling too early. For a wider look at printing prices, read our guide on how much 3D printing costs in Australia.
How many parts do you need? A quick guide
For 1 to 10 parts, 3D printing or CNC machining usually wins. You pay no tooling cost, and you can change the design for free between versions. Our rapid prototyping service covers this stage.
For 10 to 100 parts, 3D printing is still strong. Some buyers also use vacuum casting for small batches in a material close to the final plastic. Ask for both quotes.
For about 100 to 1,000 parts, compare carefully. Aluminium bridge tooling can start from around 100 parts, and production grade printing such as MJF nylon can bridge the gap or replace the tool entirely. Our low volume manufacturing page explains how these options compare.
For 1,000 parts and above, steel tooling usually wins on cost per part. Steel tools typically start making sense somewhere between 1,000 and 5,000 parts. This is where a good mould maker earns their fee.
Treat these as starting points. Part size, material and finish can move the crossover either way.
When 3D printing can replace or support tooling
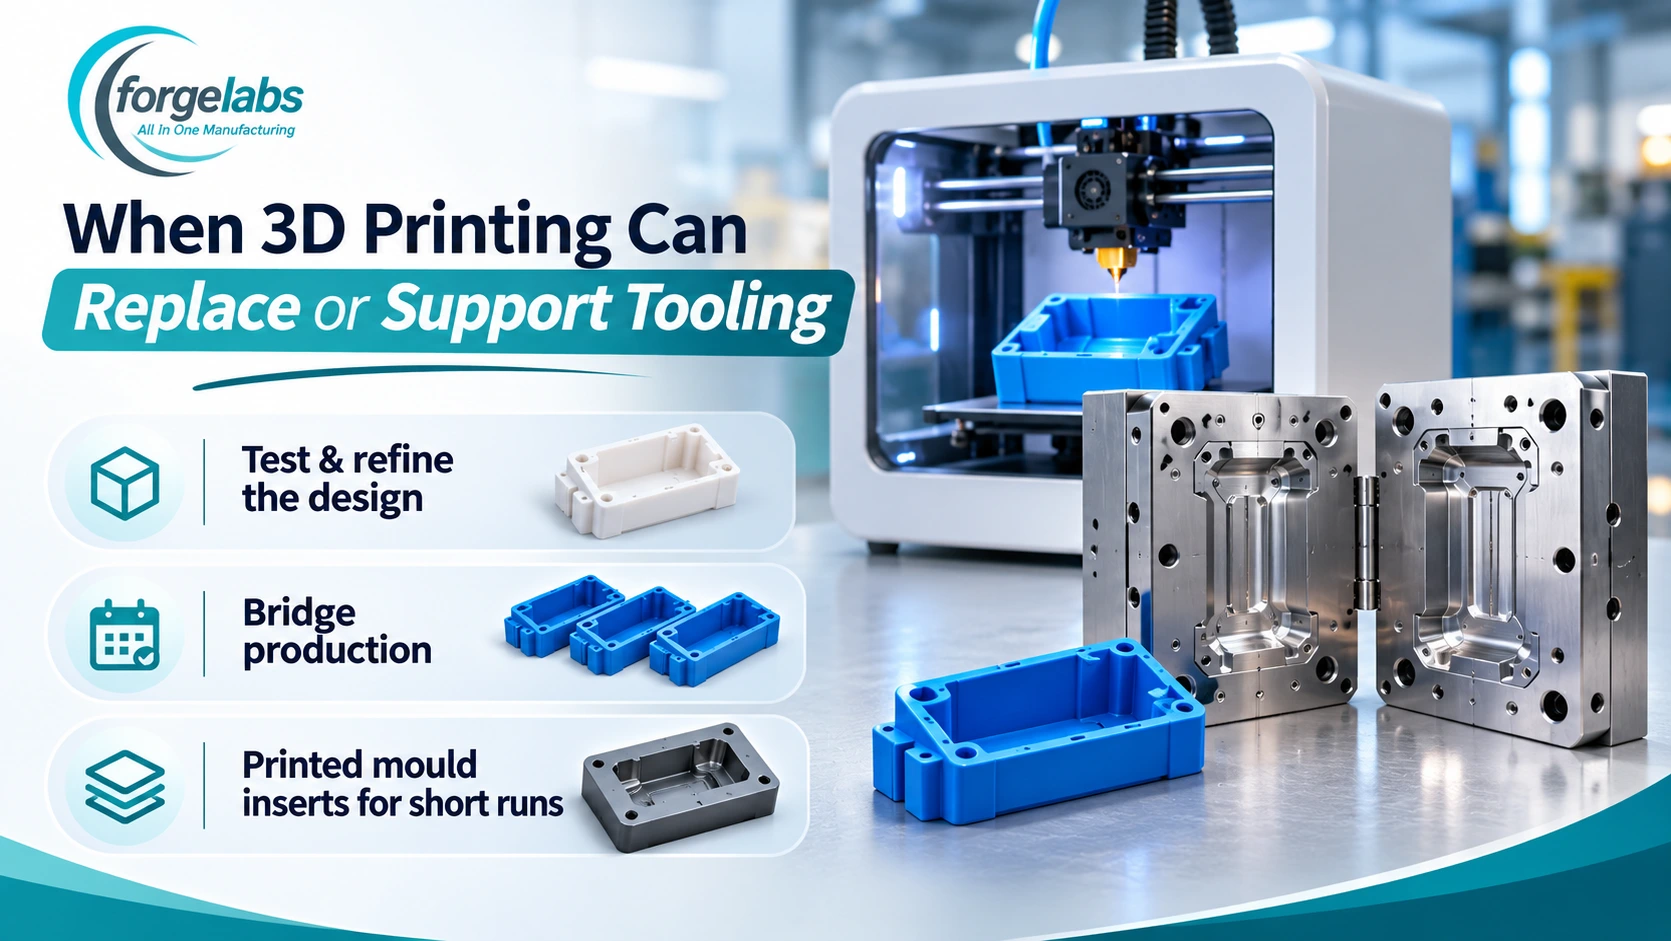
Many Australian product teams meet 3D printing too late. It helps in three ways before and during moulding.
First, you can test the shape before you cut a tool. Print the part, fit it into your assembly, and fix problems while changes cost almost nothing.
Second, you can run a bridge batch. While the mould is being built, you print the first customer parts, so sales do not stall.
Third, you can sometimes use printed mould inserts for very short runs. This is a real technique.
In the Formlabs guide to low volume injection moulding, the company says a printed mould can typically make hundreds of parts in easy plastics such as TPE, PP and PE. It also warns that higher temperature plastics, such as nylon or polycarbonate, can shorten a printed mould’s life.
A TCT Magazine report on mould maker Hasco describes printing inserts in just a few hours and reaching mountable sample parts in four days, including finishing and testing. That article dates from 2015, and results vary by part and plastic. Ask any supplier whether printed inserts suit your part before you rely on them.
Local or offshore: how to decide
Offshore moulding can cut the cost per part on large runs. Local moulding can cut risk, and for many buyers that matters more.
Think about lead time, including shipping. Think about how easily you can talk to an engineer in your time zone. Think about intellectual property, tool ownership and how simple it is to fix a fault. Also count freight, GST and the cost of rework if parts arrive wrong.
A fair rule is this. If your run is large and your design is stable, get offshore quotes as well. If your design is still changing or your run is small, local suppliers often cost less in total once you add up the delays.
Prepare these files before you ask for quotes
Suppliers give better quotes when you send complete information. Prepare:
- a 3D model in STEP format
- a simple drawing that marks critical sizes
- your estimated yearly quantity and your first order size
- your preferred plastic from our materials guide
- any colour or texture needs
- any standards or tests the part must meet
Mark which dimensions matter most. Suppliers can then focus their checks where they count.
How Forge Labs fits in
Forge Labs offers injection moulding, low volume injection moulding and injection tool making, alongside printing and machining. That means you can prototype, run a bridge batch, and move to production tooling with one team. Aluminium tooling suits fast prototype to bridge runs, and hardened steel suits high cycle production.
We review your design for manufacturing first, and we ship Australia wide, with city pages for Sydney, Melbourne, Brisbane, Perth and Adelaide.
If you are not sure which route is cheaper for your part, send us your file and your expected quantities. We will tell you honestly if printing, machining or moulding fits best, even when the answer is not a mould. If your product is still taking shape, our product development service can help you get there first.
Frequently asked questions
How do I find a good plastic mould manufacturer in Australia?
Start with the ten questions above. Compare at least three quotes, and ask each supplier who builds the tool, who owns it and how they check quality. Directories help you build a shortlist, but they do not rank suppliers by quality.
How much does an injection mould cost in Australia?
It depends on part size, complexity, cavity count, material and expected tool life. Simple aluminium tools cost far less than large, multi cavity steel tools. Ask for a quote that lists each cost item so you can compare suppliers fairly.
How long does it take to make an injection mould?
Timelines vary by tool size and complexity. Aluminium tools generally come faster than hardened steel tools. Ask for a written schedule that covers design review, tool build, sampling and first production parts, and ask what could delay it.
What is the minimum order quantity for injection moulding?
Each moulder sets their own. Machine setup takes time, so very small runs can cost more per part. Bridge tooling can make sense from around 100 parts, and steel tooling usually pays off from about 1,000 to 5,000 parts. For smaller quantities, ask about 3D printing or vacuum casting instead.
Can you 3D print an injection mould?
Yes, in some cases. Printed inserts can work for short runs and prototypes, mainly in easy plastics, but they wear faster than metal tools. Whether it suits your part depends on the plastic, the shape and the number of parts.
Should I use aluminium or steel for my mould?
Aluminium is quicker and cheaper and suits shorter runs. Steel costs more and lasts far longer, so it suits large production runs.
Is it cheaper to 3D print or injection mould my part?
For small quantities, printing is usually cheaper because there is no tool. For large quantities, moulding usually wins. The crossover depends on your part, so run the simple maths above with real quotes.
Who owns the mould after I pay for it?
You should, but only if the contract says so. Get tool ownership, storage location and release terms in writing before you pay.
Conclusion
Choosing a plastic mould manufacturer in Australia comes down to asking better questions, not finding a longer list. Check who builds the tool, who owns it, how they plan the timeline, and whether they review your design before cutting metal. Watch for red flags like a suspiciously low quote or a supplier who skips design feedback.
Here is an illustration, with round numbers, not a quote. A mould costs ten thousand dollars. Each moulded part costs two dollars. A printed part costs fifteen dollars each when no tooling is used. For a batch of one hundred parts the mould route costs ten thousand two hundred dollars. Printing costs one thousand five hundred dollars. For a batch of one thousand parts the mould route costs twelve thousand dollars. Printing costs fifteen thousand dollars. The crossover point lies somewhere between those two runs.
Whichever route you take, test the design first and bridge your first orders while the tool is built. That way you protect your launch date and your budget.
Ready to find out whether you need a mould? Send us your 3D file and expected quantities through our contact page, call +61 416 945 444, or email contact@forgelabs.com.au. We will review the design, suggest the lowest cost route, and give you a clear quote.